


Issue #: 143
Published: September / October 2015
- Price per issue - digital : 5.40€Digital magazine
- Access to Multihulls World digital archives Digital archives
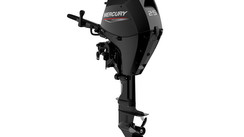
Routine maintenance of your dinghy’s little outboard motor is a relatively easy operation. It is above all essential if you want your machine to last a long time...and to avoid breakdowns.
Published 01/08/2015
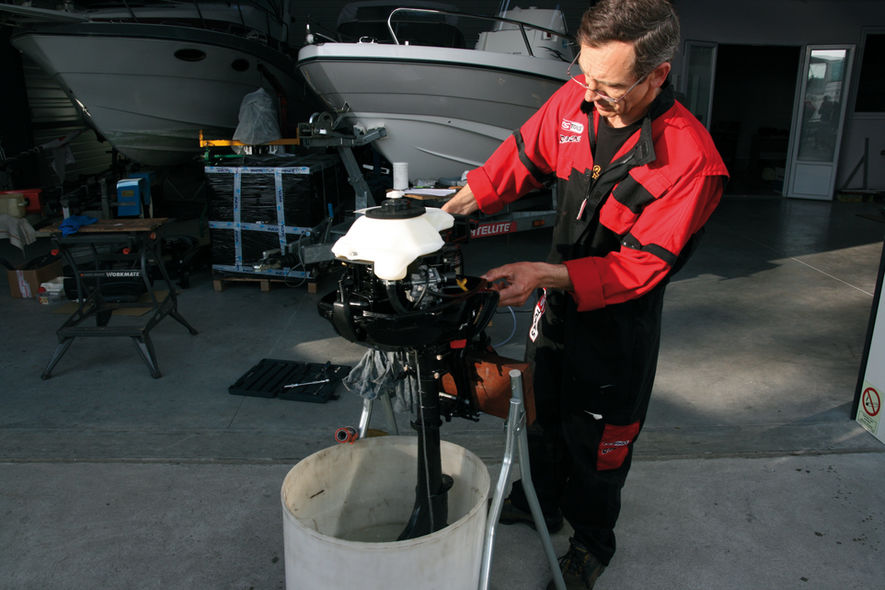
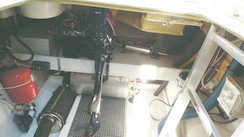
Subscribers OnlyMaintaining your outboard once a year is the minimum. The recurrent problem with dinghy engines is that the engine does not run enough. During long passages, or stopovers in harbors, corrosion has time to set in and seize up the moving parts. There is a risk of breakages and breakdowns within a period which is finally quite short: a new motor which is little used and never maintained can be fit for the scrap yard in less than five years. The salt is to blame; it obstructs the cooling circuit, jams the transmission elements, the bolts and all the parts which should turn, such as the fixing screws. The best thing to do is remove the salt from your engine regularly – as long as it is easily transportable – by running it in a large container (a garbage can, for example) full of fresh water. Motors which are used on lakes are obviously less prone to premature ageing. Discover with us the points on your outboard which must be checked every year.

Run the engine in fresh water to eliminate the salt. An operation which should be repeated as often as possible, and at least once a year. Be careful if your container is not very big, as the water temperature can rise very rapidly.
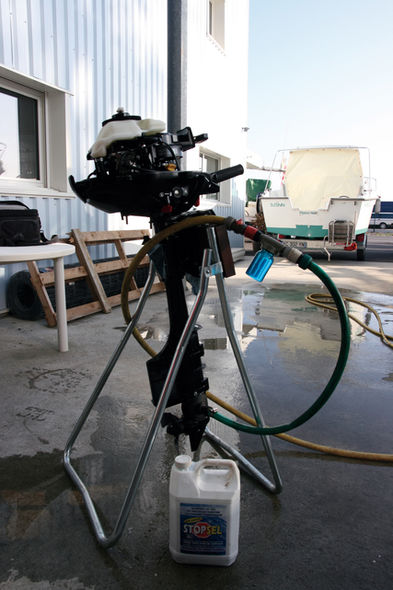
The water is emptied and replaced with a salt-removing product. On certain motors, the product can be ‘injected’ directly via the cooling water intake holes.
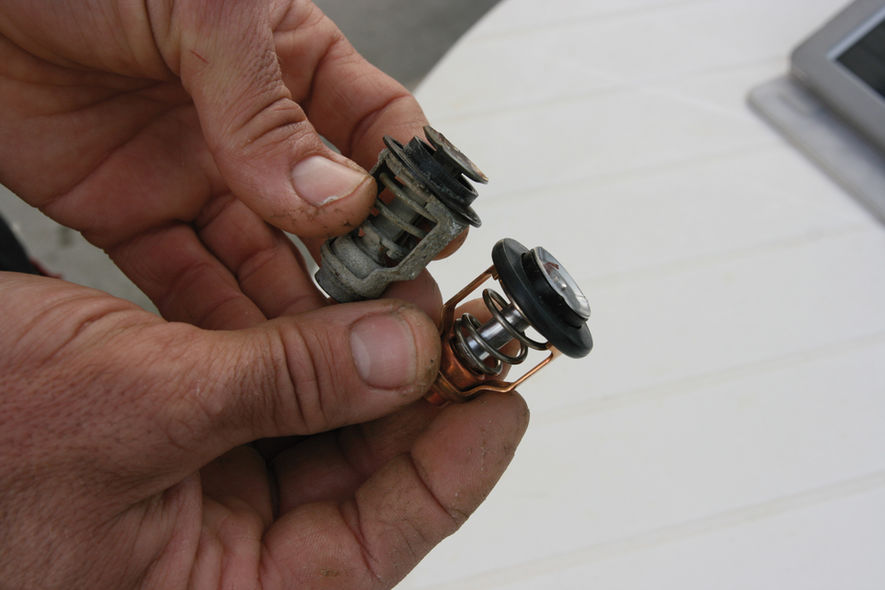
Check that the thermostat is working by putting a finger on the cover. It will be cold at first, then will heat up suddenly. If it remains cold, it must be dismantled and checked. Cleaning in an acid bath. If the thermostat remains jammed open – again because of the salt – it must be changed.
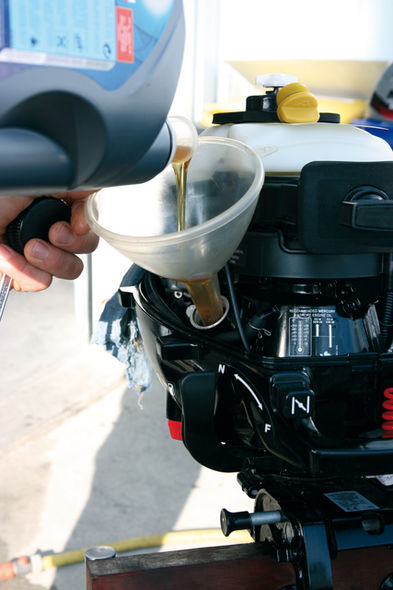
Oil change – for 4 strokes: on a big engine, every 100 hours. On a small motor, it must be done every year, preferably at the end of the season. The engine must be warmed up so the oil becomes more fluid. There is no oil filter on low powered outboards.
Remember to check the condition of the plug and the washer. The quality and quantity of oil are marked on the engine block. Remember to add some oil after having run the motor. Don’t over-tighten screw threads, especially on aluminum or plastic parts.
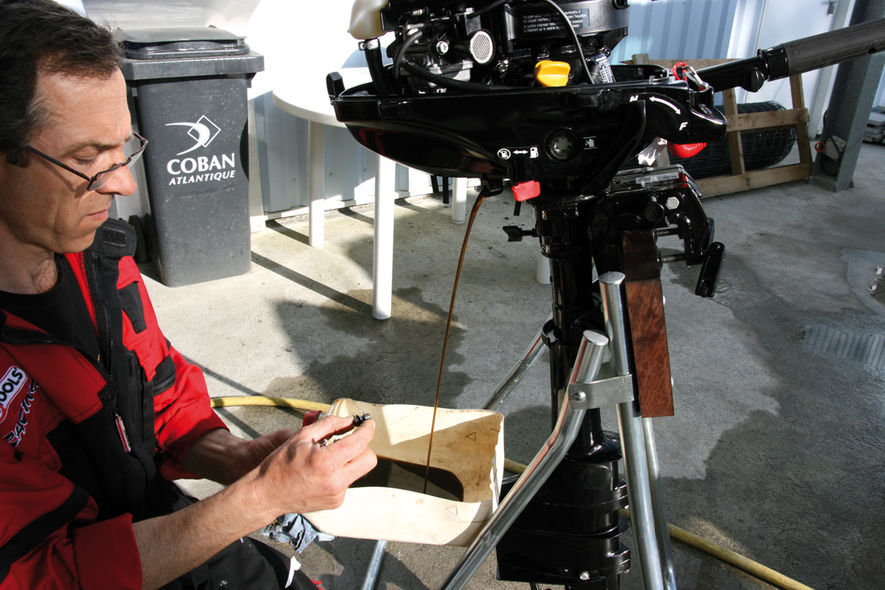
Remove the two screws: the oil which runs out must be clean. If there is any emulsion or even worse, clear water, obviously there is a water leak. And then there is the classic problem: fishing line round the shaft at the level of the propeller, which ends up by cutting the lip seal...
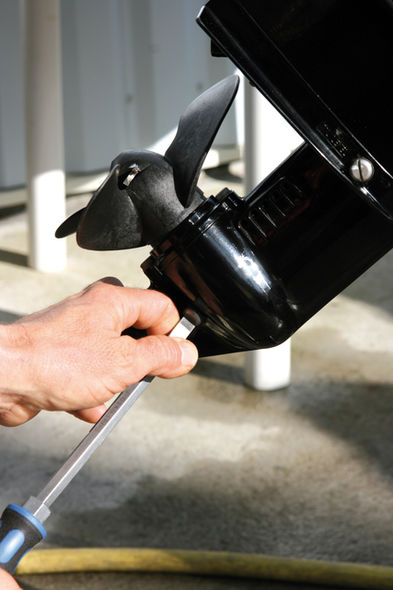
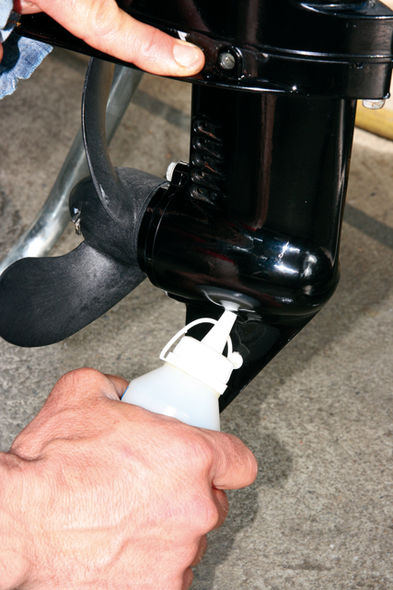
Let the oil drain. Check the washers once again and of course the screw heads, to avoid difficulties when dismantling later. Using an oil can or a special pump, fill the housing with special transmission oil. Clean the plugs and prepare them, ready to be refitted.
Ideally, the water pump should be checked every year. Remove the propeller foot, not forgetting to slacken the forward/reverse shaft. Check the impeller, refit with a little Vaseline, and grease the groves in the transmission shaft. Take advantage of the opportunity to ...


What readers think
Post a comment
No comments to show.