

Issue #: 192
Published: November / December 2023
- Price per issue - digital : 6.50€Digital magazine
- Price per issue - print : 9.50€Print magazine
- Access to Multihulls World digital archives Digital archives
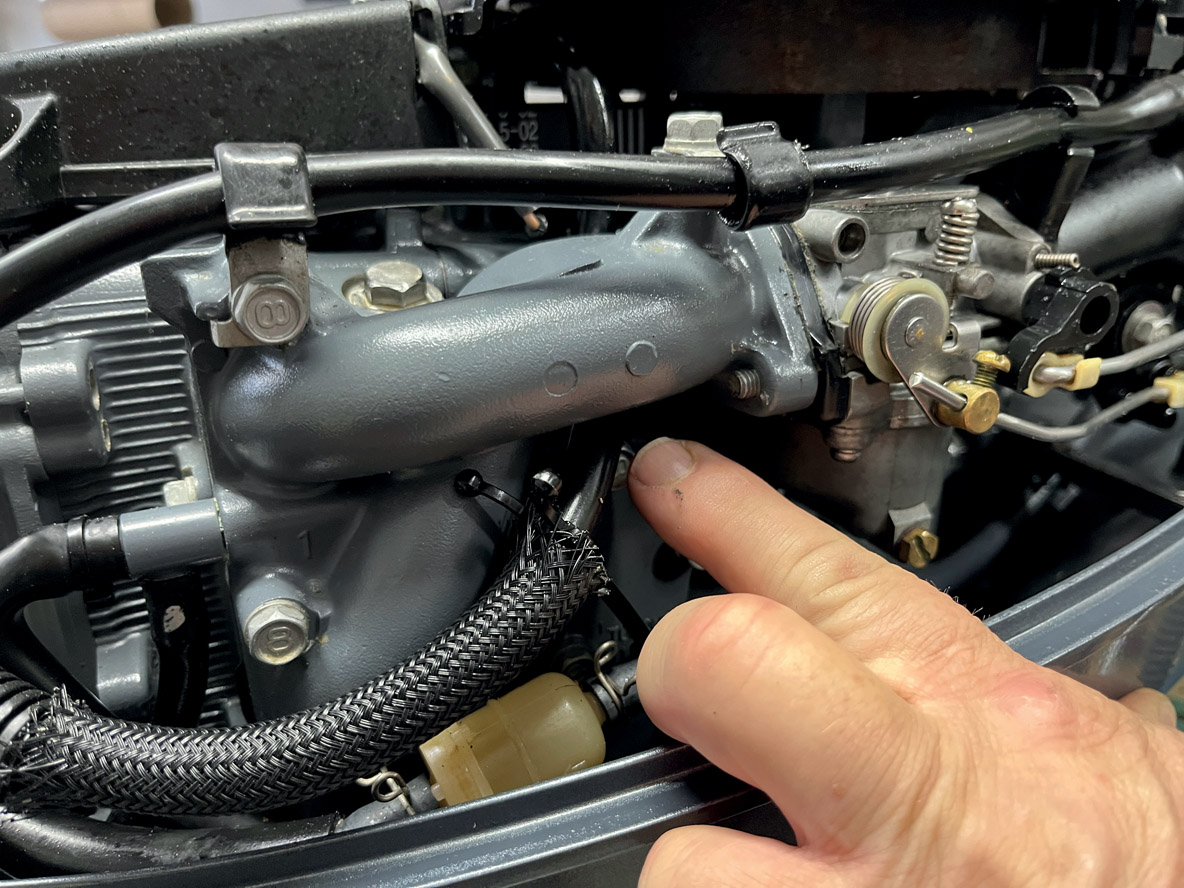
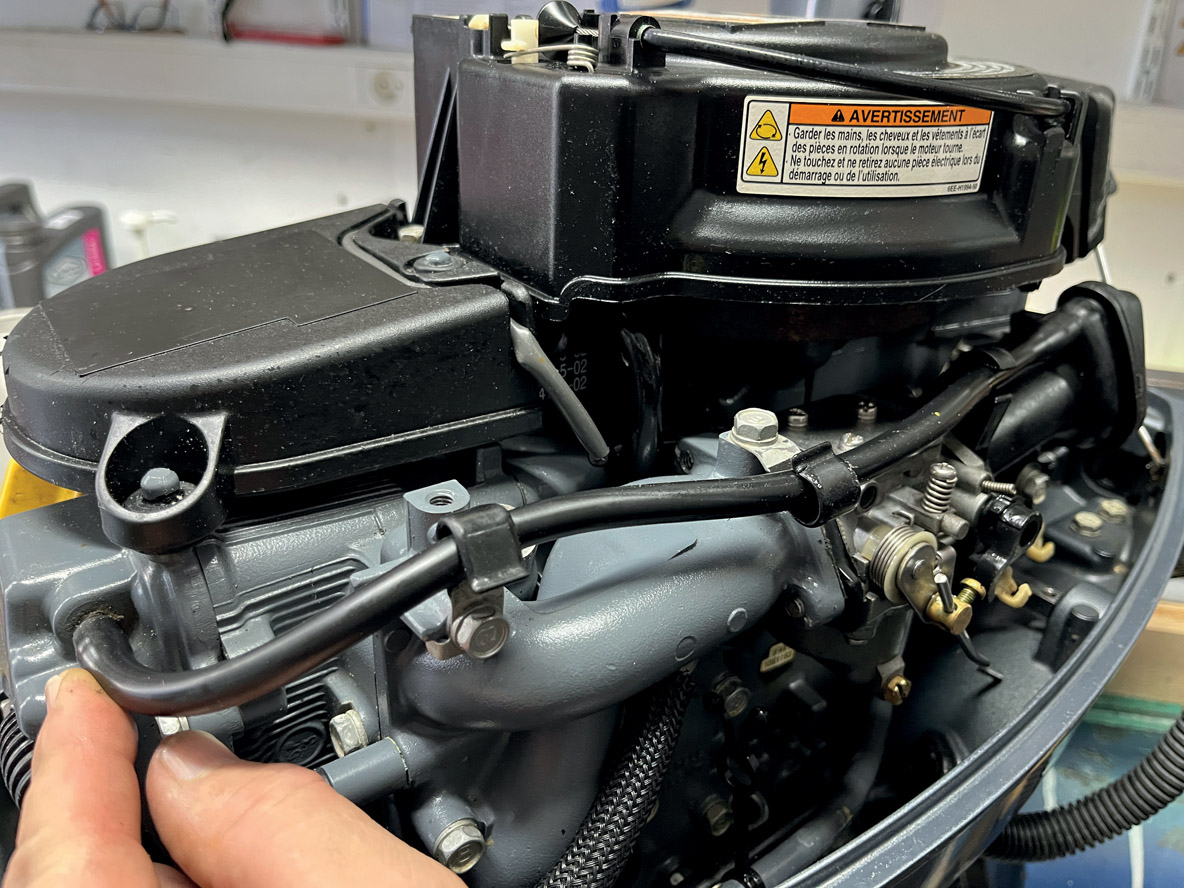
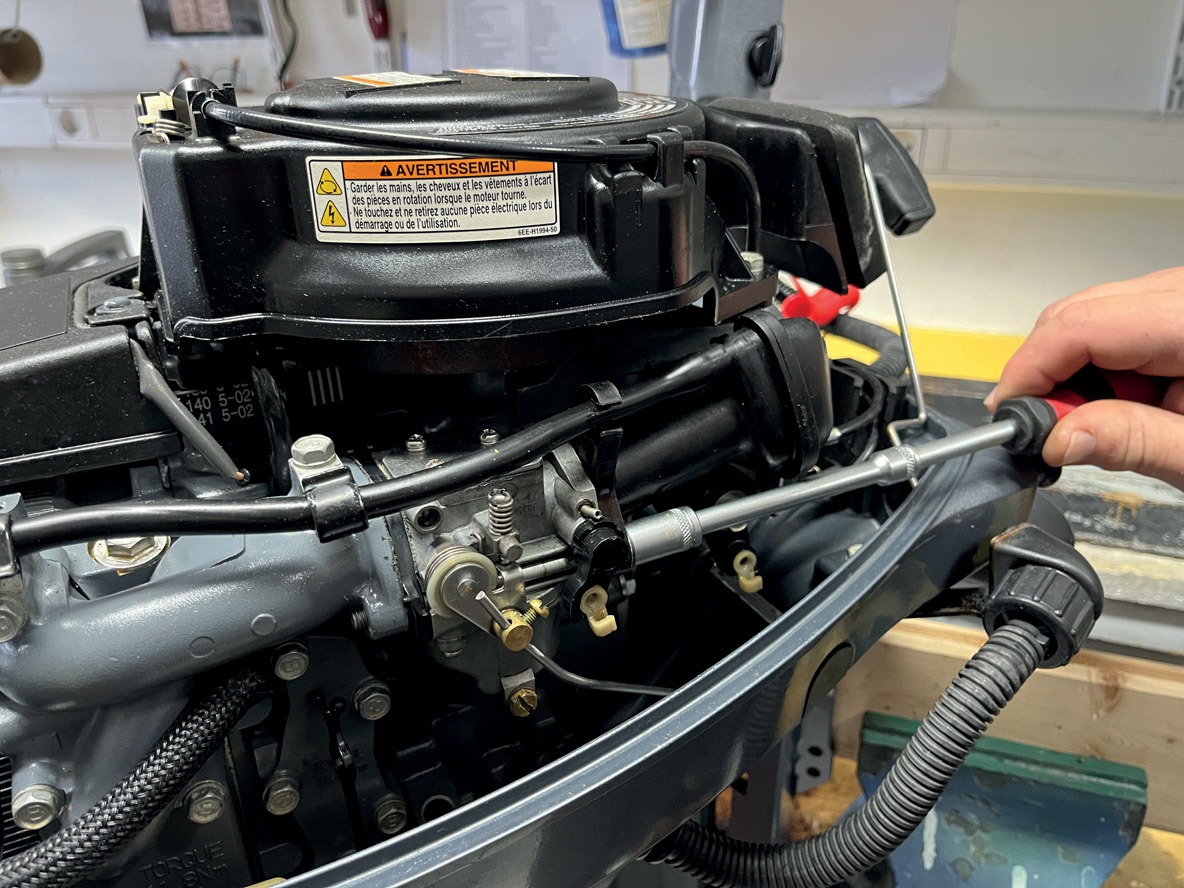
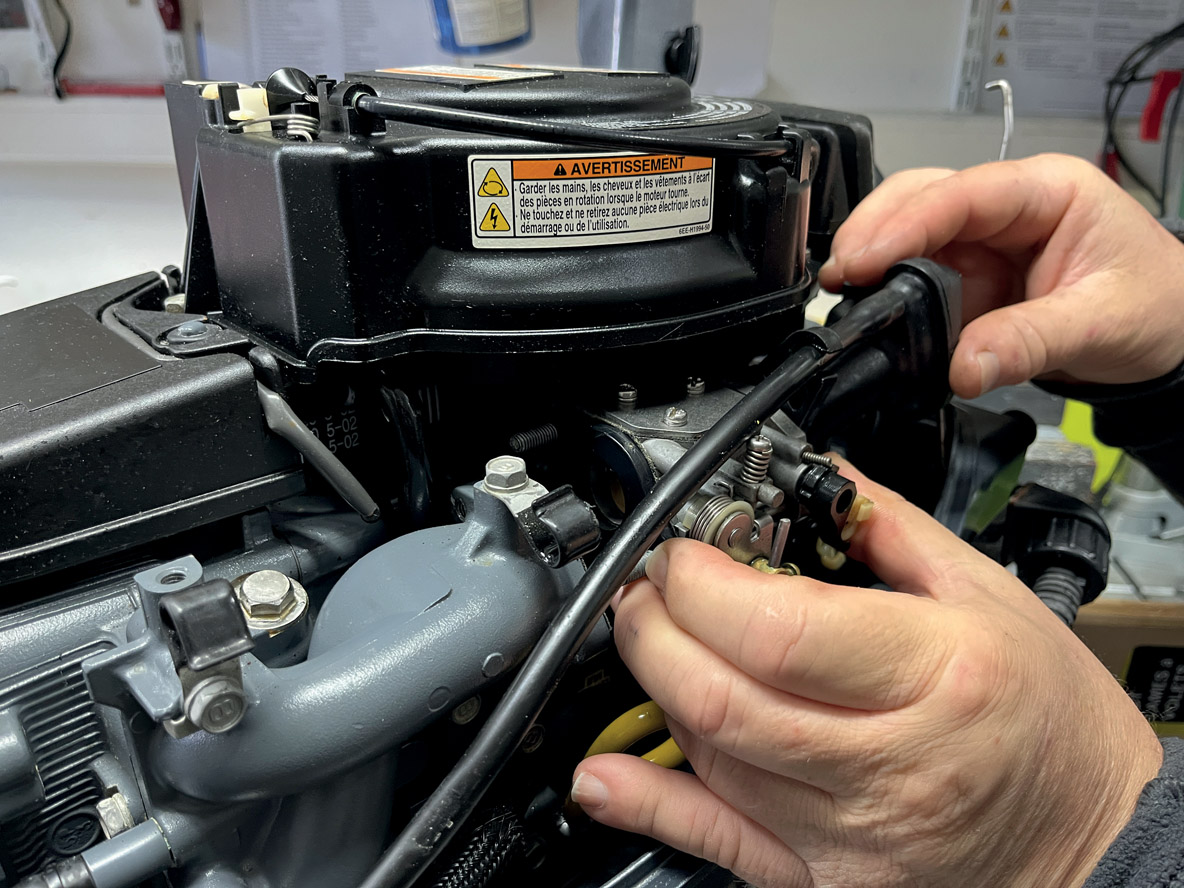
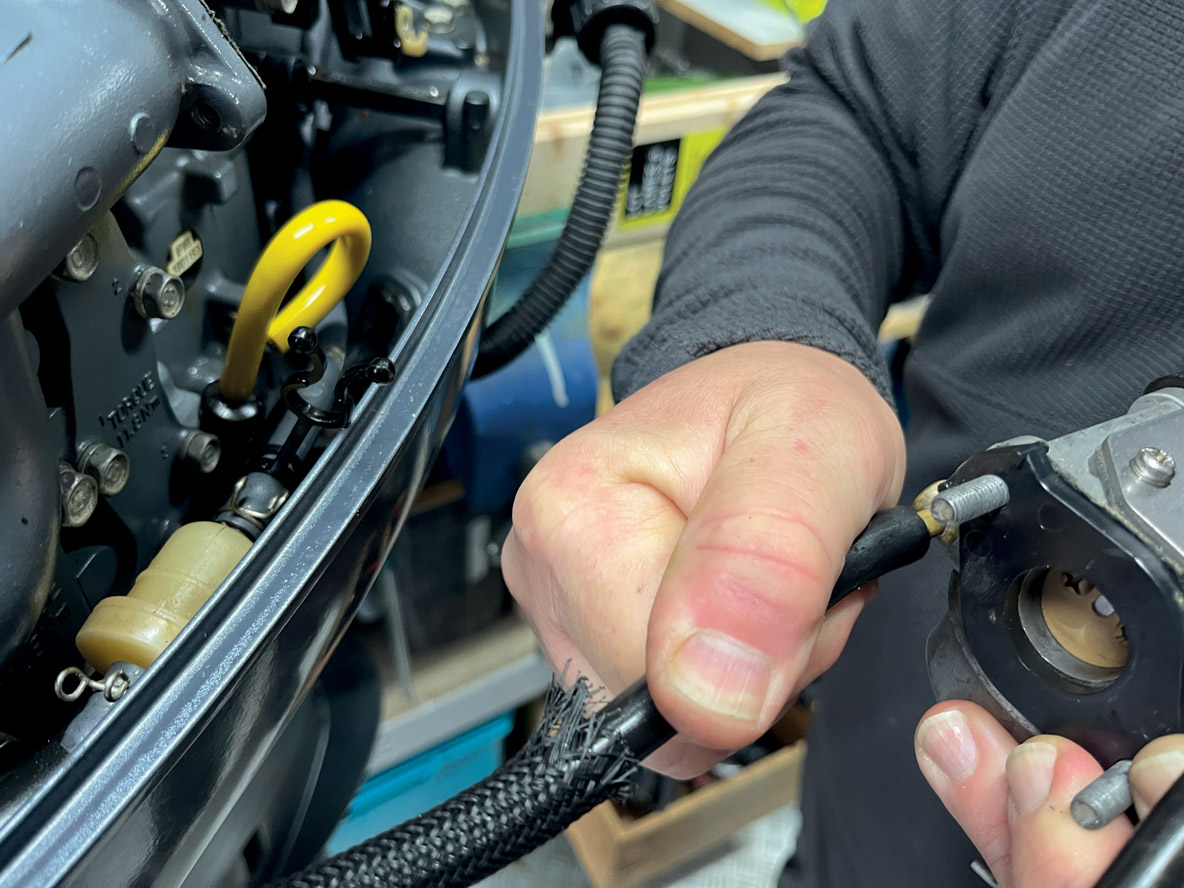
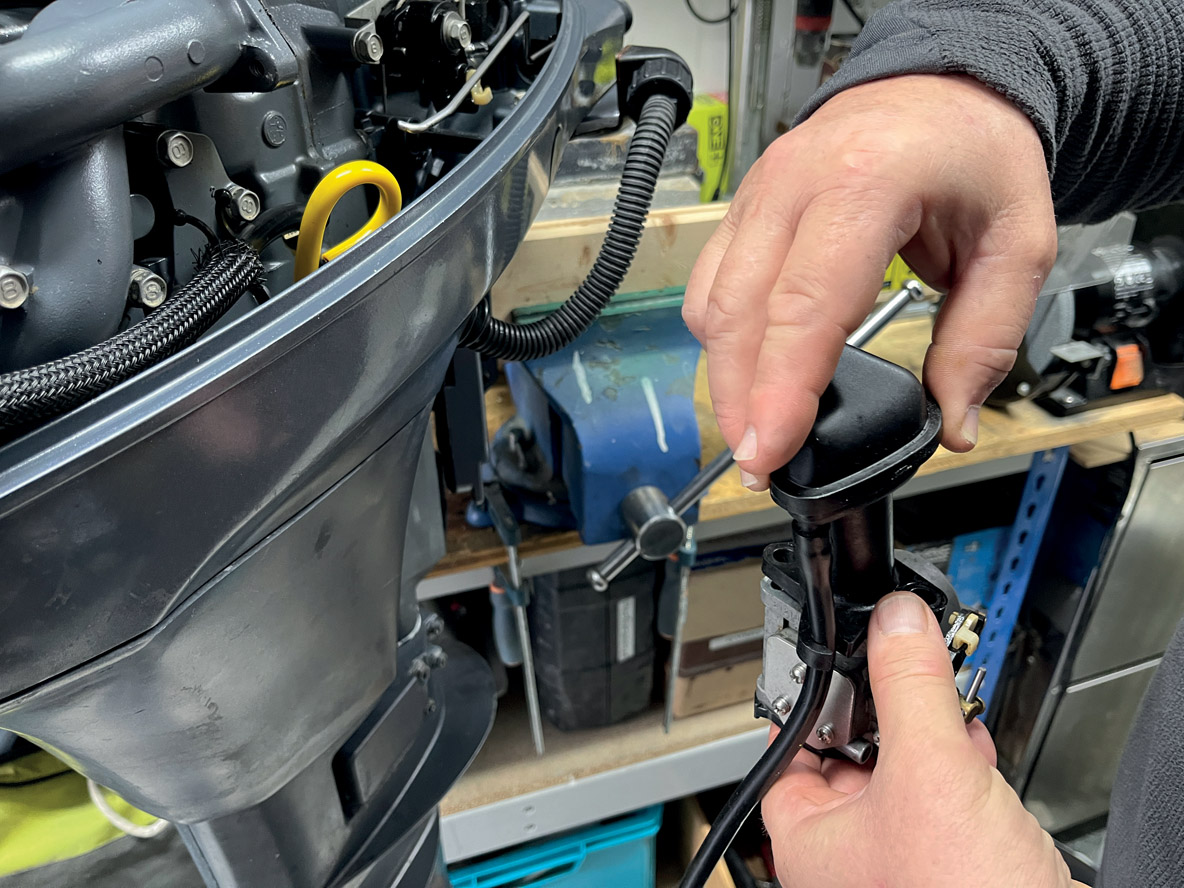
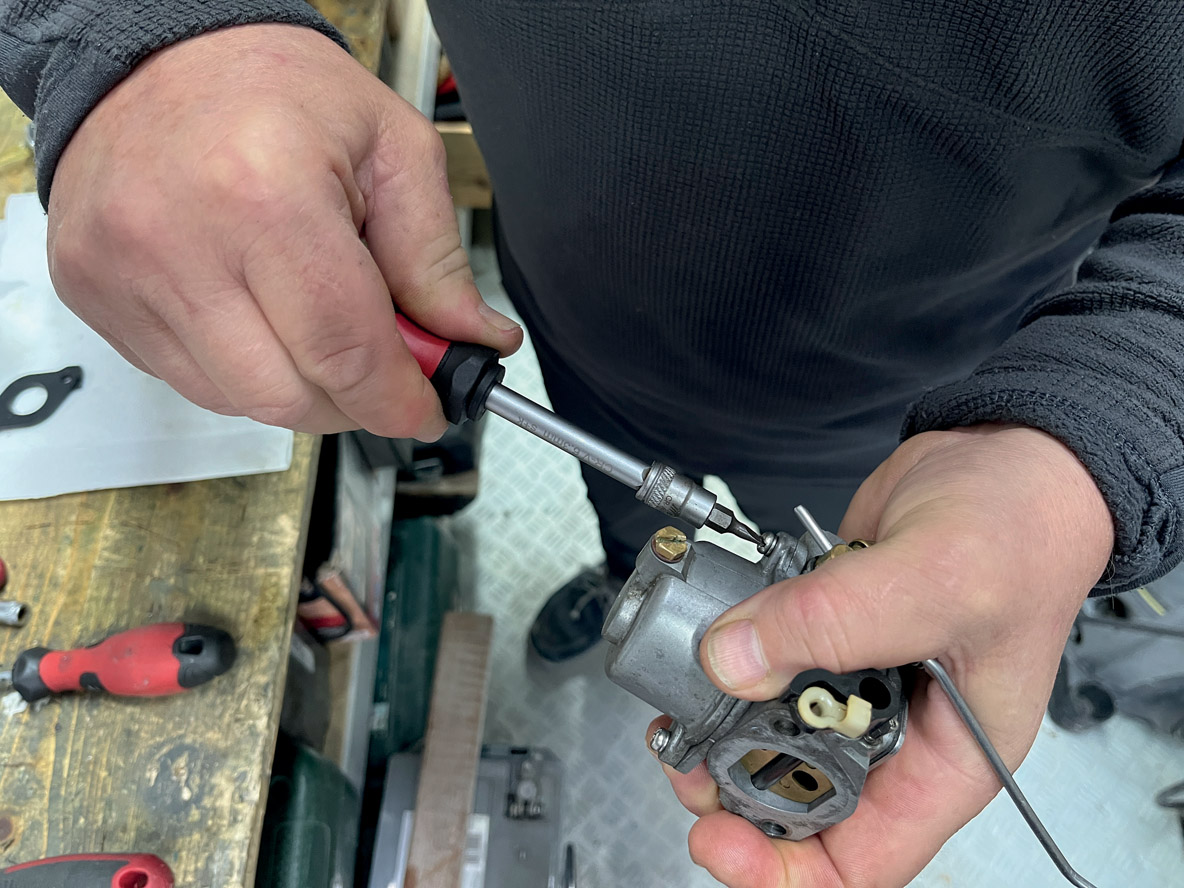
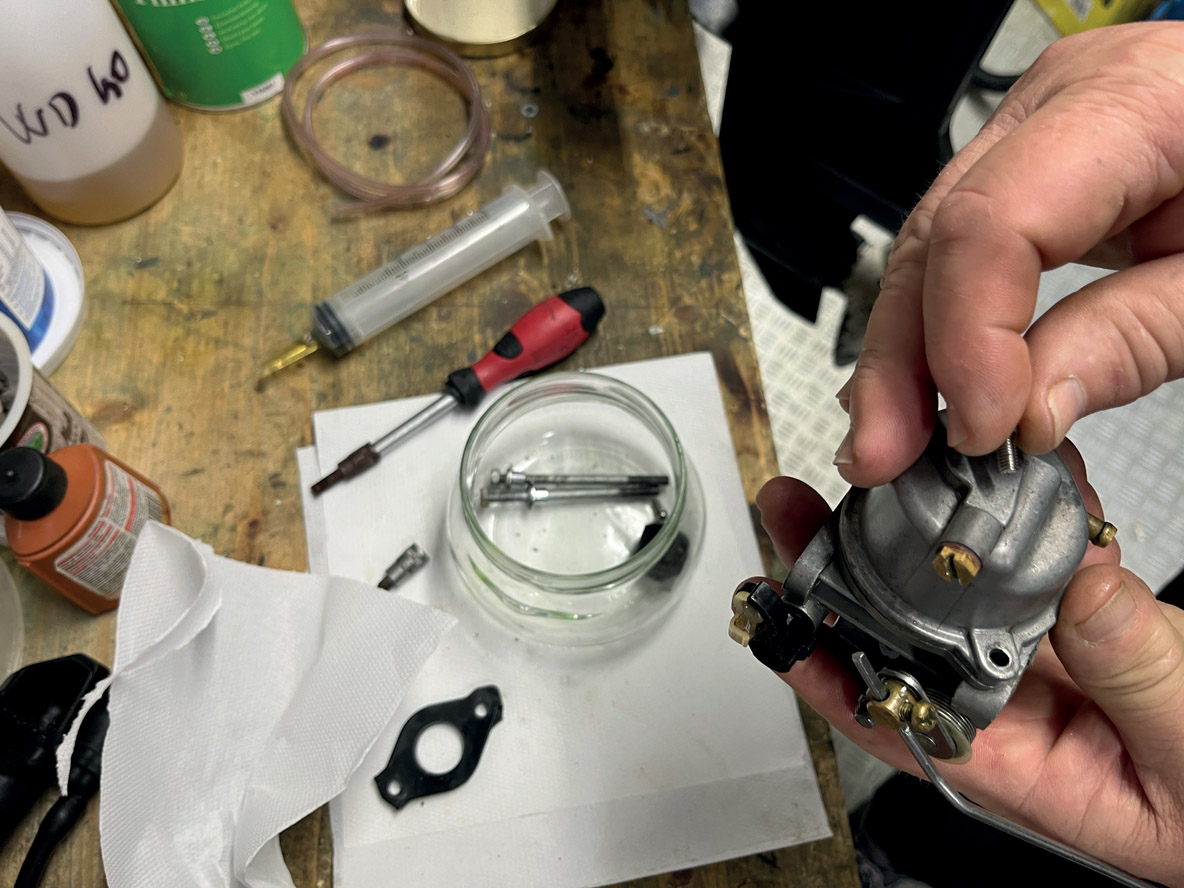
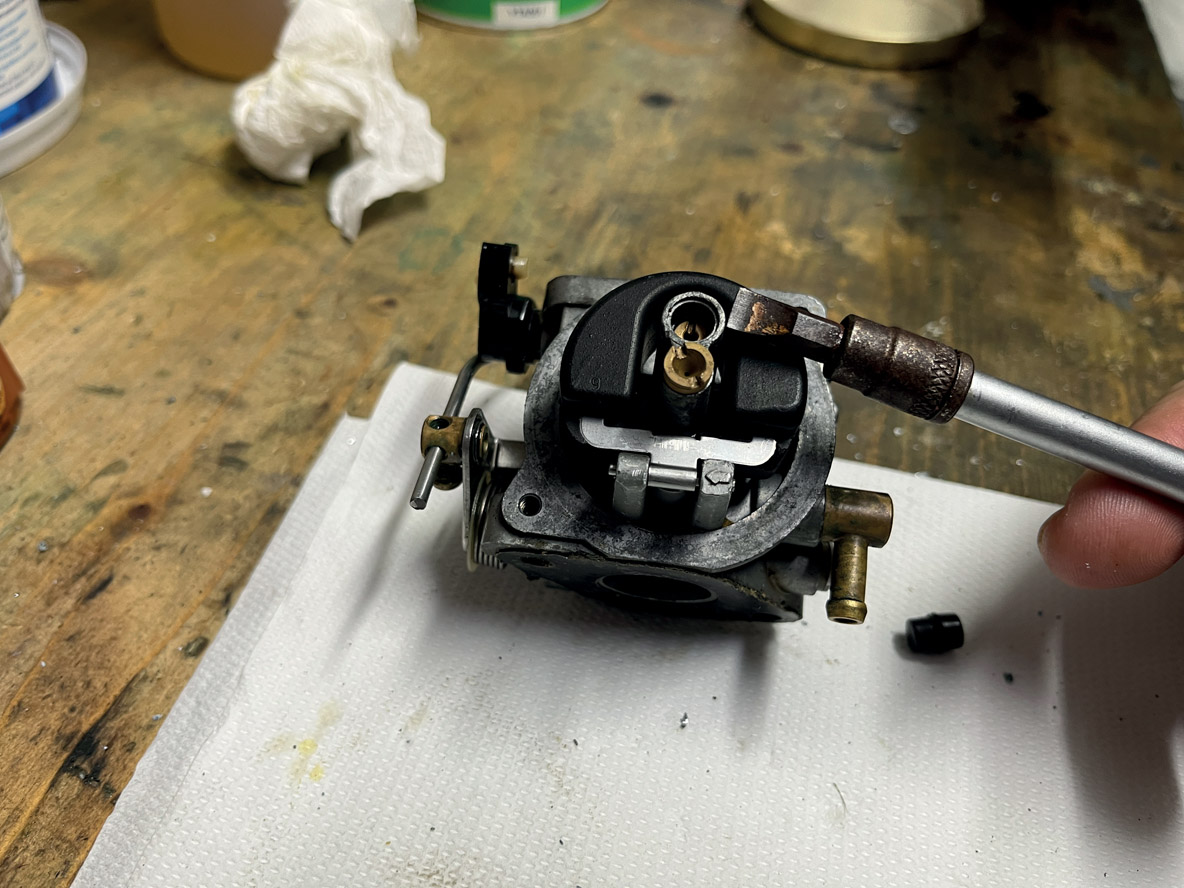
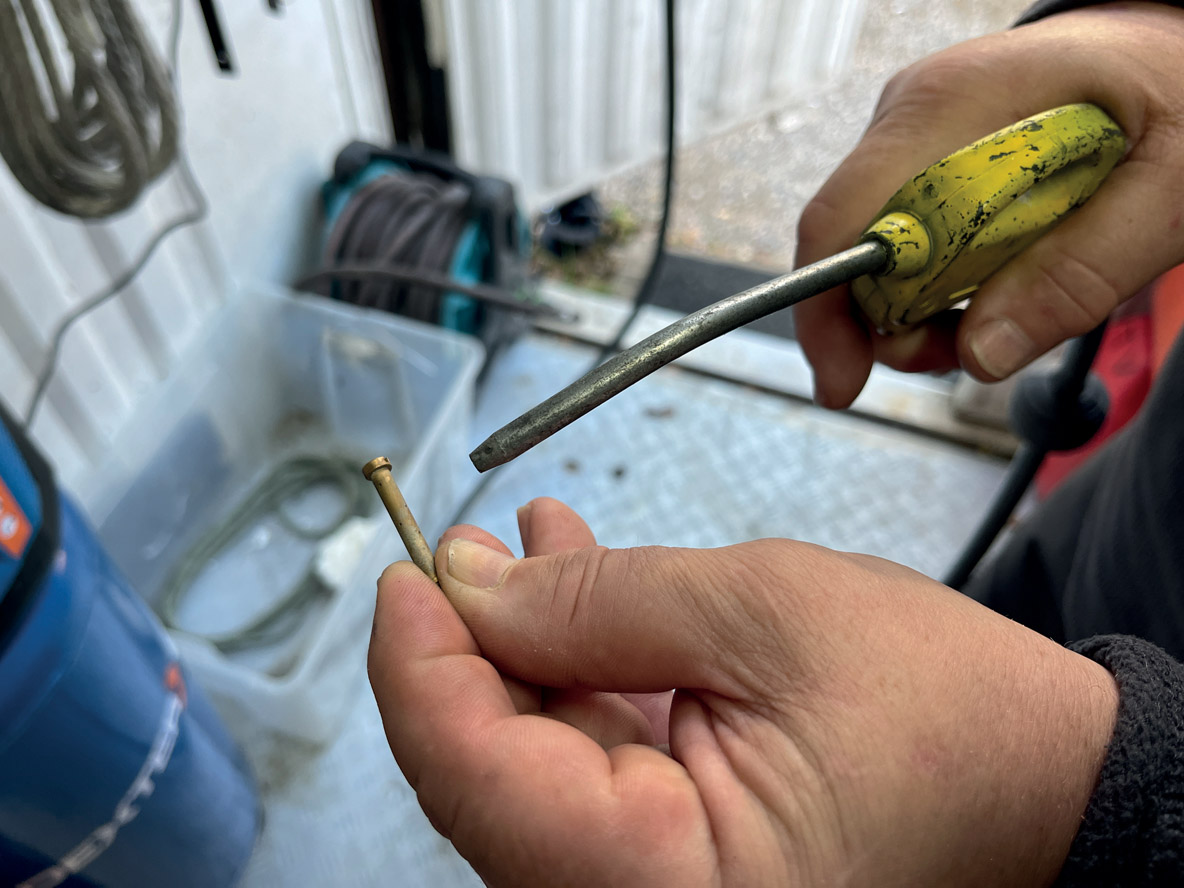
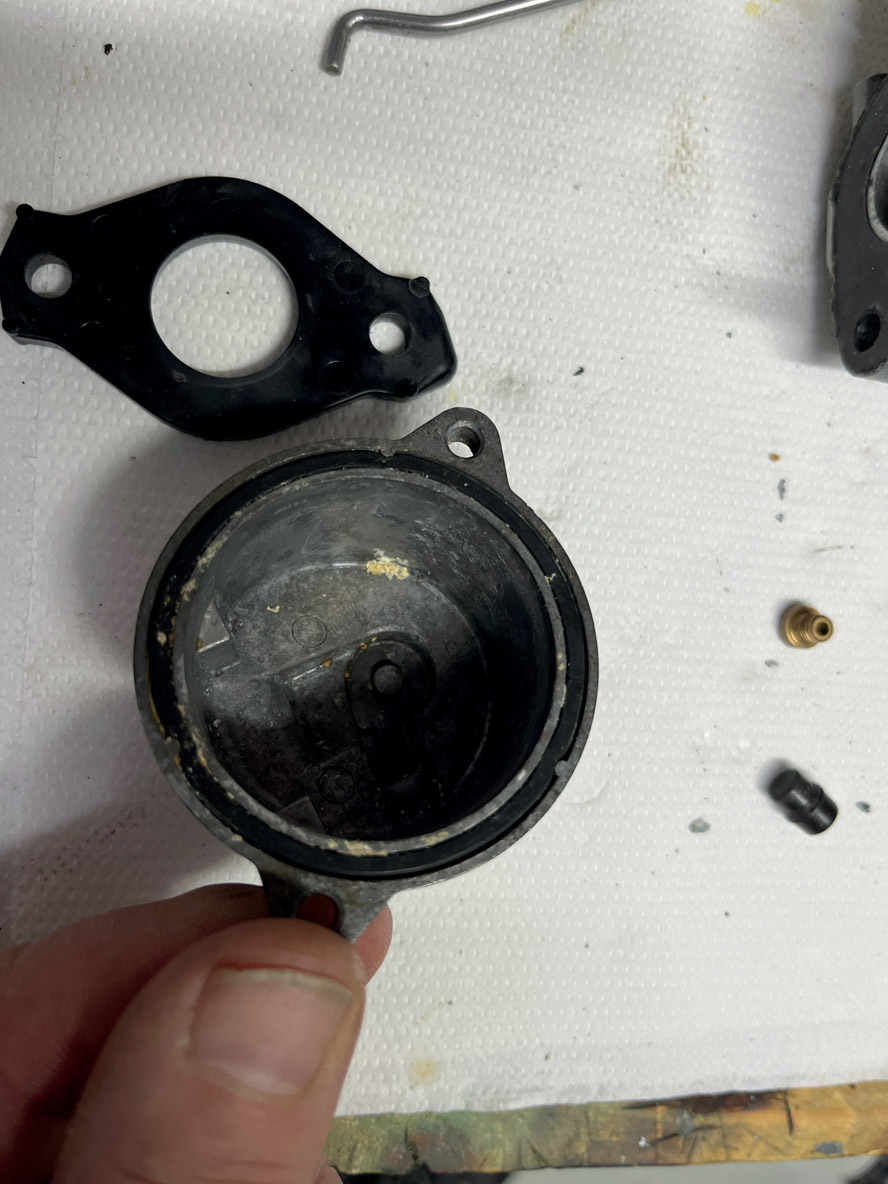
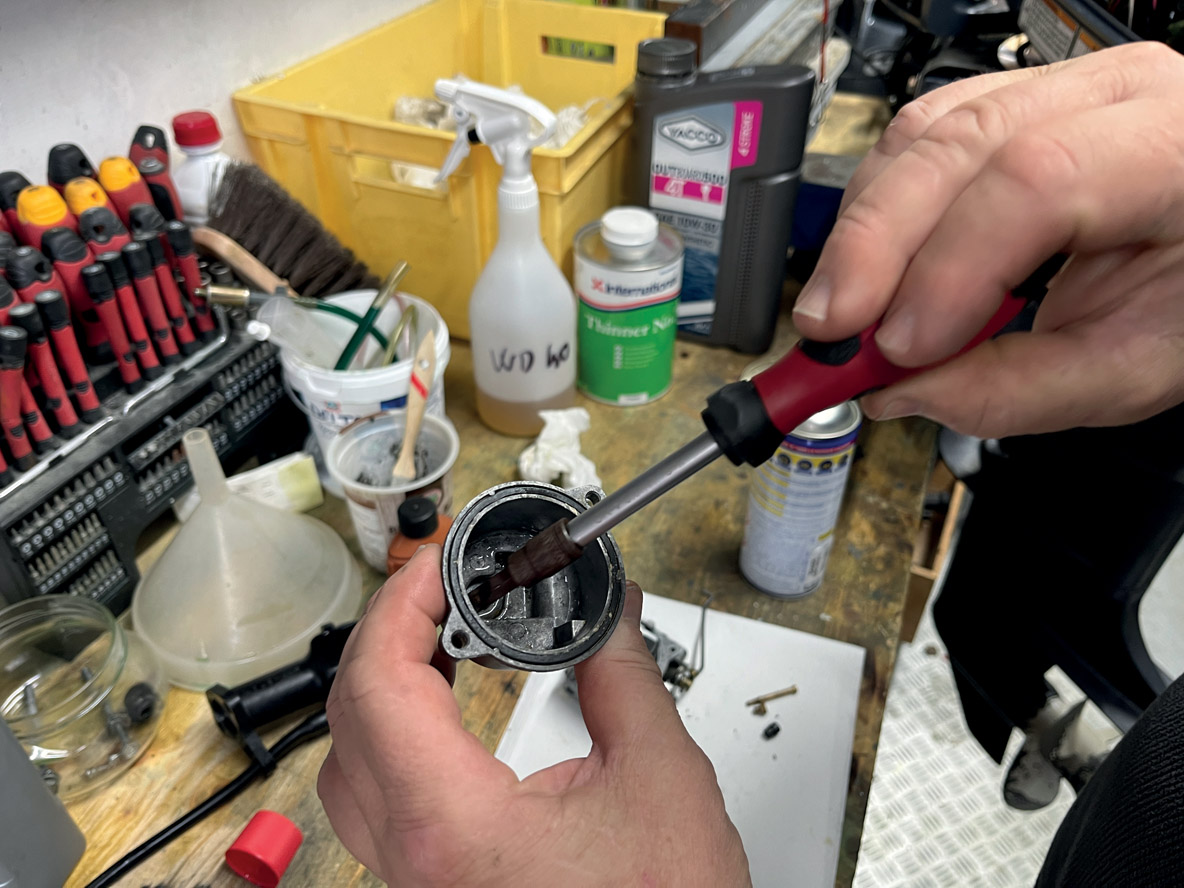
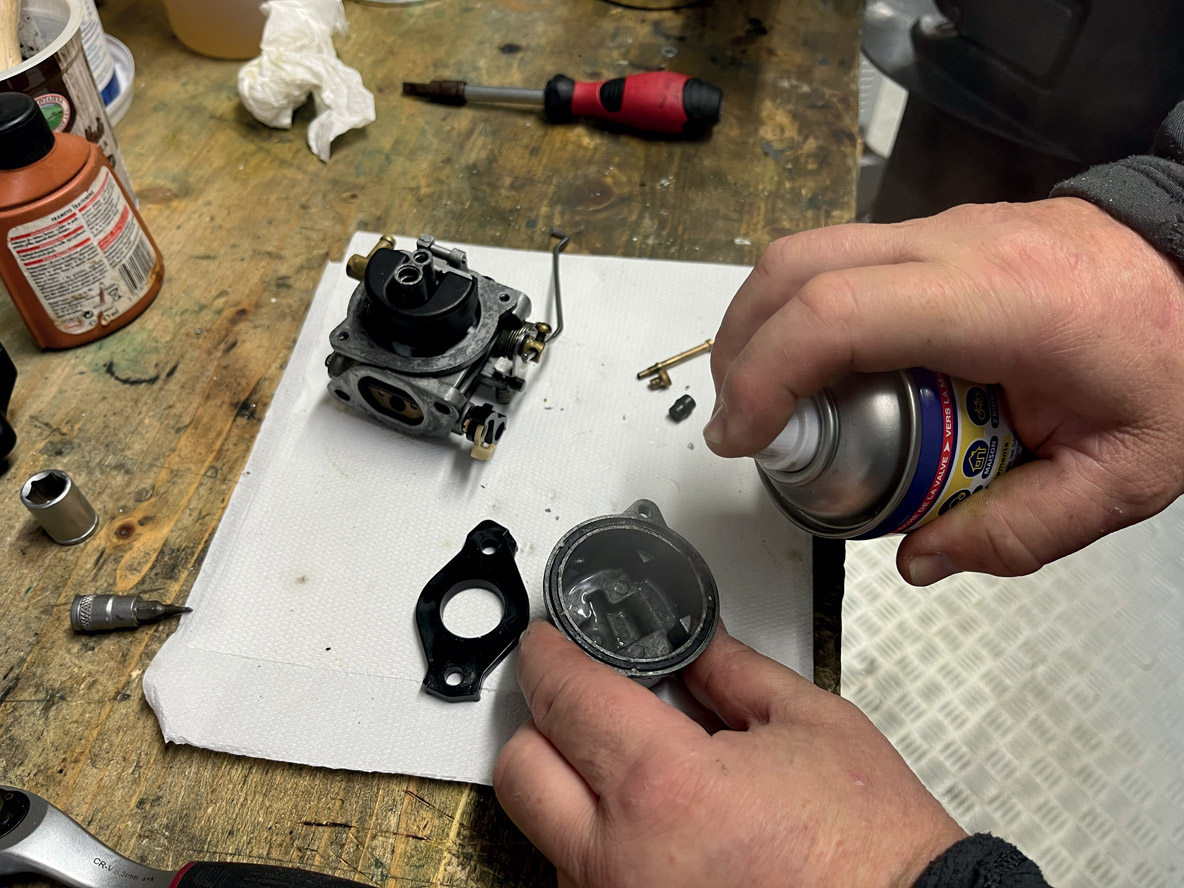
Proper maintenance of the fuel feed system can help prevent breakdowns. In this second feature on outboard motor maintenance, we’ll be taking a closer look at the traditional maintenance operations, as well as what to do in the event of mechanical failure.
Published 29/09/2023
Subscribers Only


What readers think
Post a comment
No comments to show.